User Tools
wiki:en:textmilling:quickstart
This is an old revision of the document!
TextMilling Quick start
This is an example to illustrate how to use TextMilling.
Your first engraving
This is what TextMilling looks like when you start the program. In this example we are going to create an engraving of the text “Kalle Petterson” (you can use your own name here instead).
- Press the Add new horizontal text button

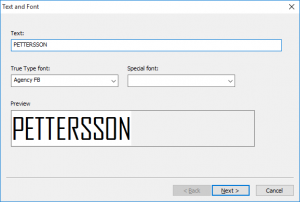
- Begin by typing KALLE in the text field.
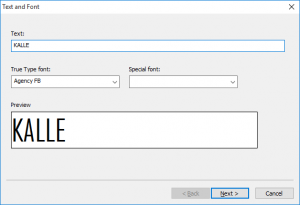
- Click on the font field and choose the font that you wish to use. The font field shows the fonts currently installed in your computer.
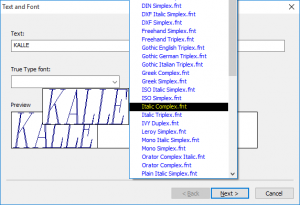
- Press Next >
- Enter any size of the text as you desire or just continue.
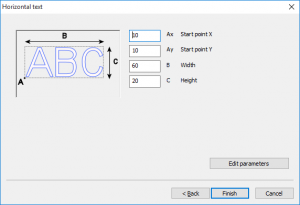
- Press Finish
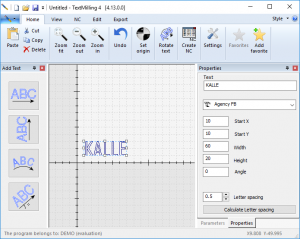
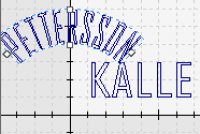
- Use the mouse to move your text and/or drag it to the desired size.
- Press the Add a new text on arc button

- Enter PETTERSON in the text field and adjust the font as before.
- Press Next > and adjust the parameters if desired.
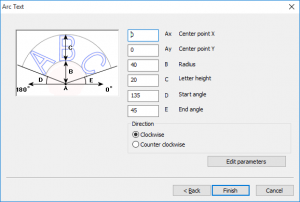
- Press Finish
- Move the arc:ed Pettersson text to a desired position.
 –>
–> 
- Mark the center point of the arc and the starting position of the text.
- Move the mouse clockwise to mark the end position and the text height. You can now adjust the size and position of your texts by clicking on them and dragging the mouse.
- In the parameter window to the right you can see the parameters of the texts. Click on “Milling parameters”.
- You can type in different values that affect your text. Experiment with the mill diameter.
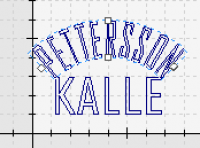
- By pressing “A” in the tool field you can preview how the text will look with the current tool parameters.
- When you are satisfied with your engraving you can use these buttons to create NC-code, RIT-files or BEA-files (used by CamModul).
These are just a few of the functions of TextMilling. Experiment with different fonts, rotations, mirroring and parameters.
Good Luck!
wiki/en/textmilling/quickstart.1445940454.txt.gz · Last modified: 2018/02/07 19:23 (external edit)